How to make Kapanadze generator !
Zaznaczam ze moje doswiadczenia sluza tylko i wylacznie do celow edukacyjnech , a blog jest w ciaglej modernizacji!
I note that my experience serve only and exclusively for the
educational purposes , and blog is a continuous upgrade!
Schematic:

Number of turns and directions:
Blue 90 turns 1.5mm CW
Brown 30 turns 1.5mm CCWGreen&Yellow 16mm CCW
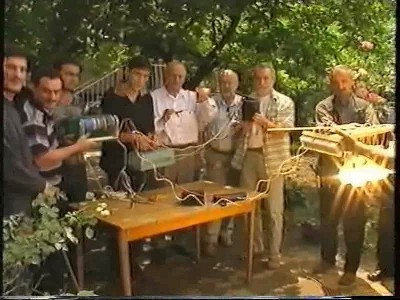
My replication of Kapanadze:
First test:
https://www.youtube.com/watch?v=_EjXkoxTHEc
Second test:
https://www.youtube.com/watch?v=ul0PTs7R1Dk
Parts list:
1 High voltage transformer
2 Capacitor
3 HV Diode
4 Spark Gap
5 Coil
6 Earth(ground) rods
7 Lamps(load)
8 Wires
Most of those parts you will find in any old microvawe oven ,this is the easiest way of getting most expensive parts for almost free of charge :)
1 -High voltage transformer
In my replication I used MOT (Microvawe oven transformer)
| !!!!Extremely Danger Risk of Death !!! MOTs are very dangerous due to their high output current. Touching the high voltage end will probably result in death, at least in very severe burns. Although the voltage is not very high, it is high enough to jump an air gap and thus makes the "one hand in the pocket" rule useless!!!!!!!! |
2 -Capacitor

!!! Remember capacitor can hold charge for very long time ,always discharge it after tests !!!!!!
3 -HV Diode
In this photo you can see HV diode attached to capacitor

4 -Spark Gap
You can buy it if you want to:
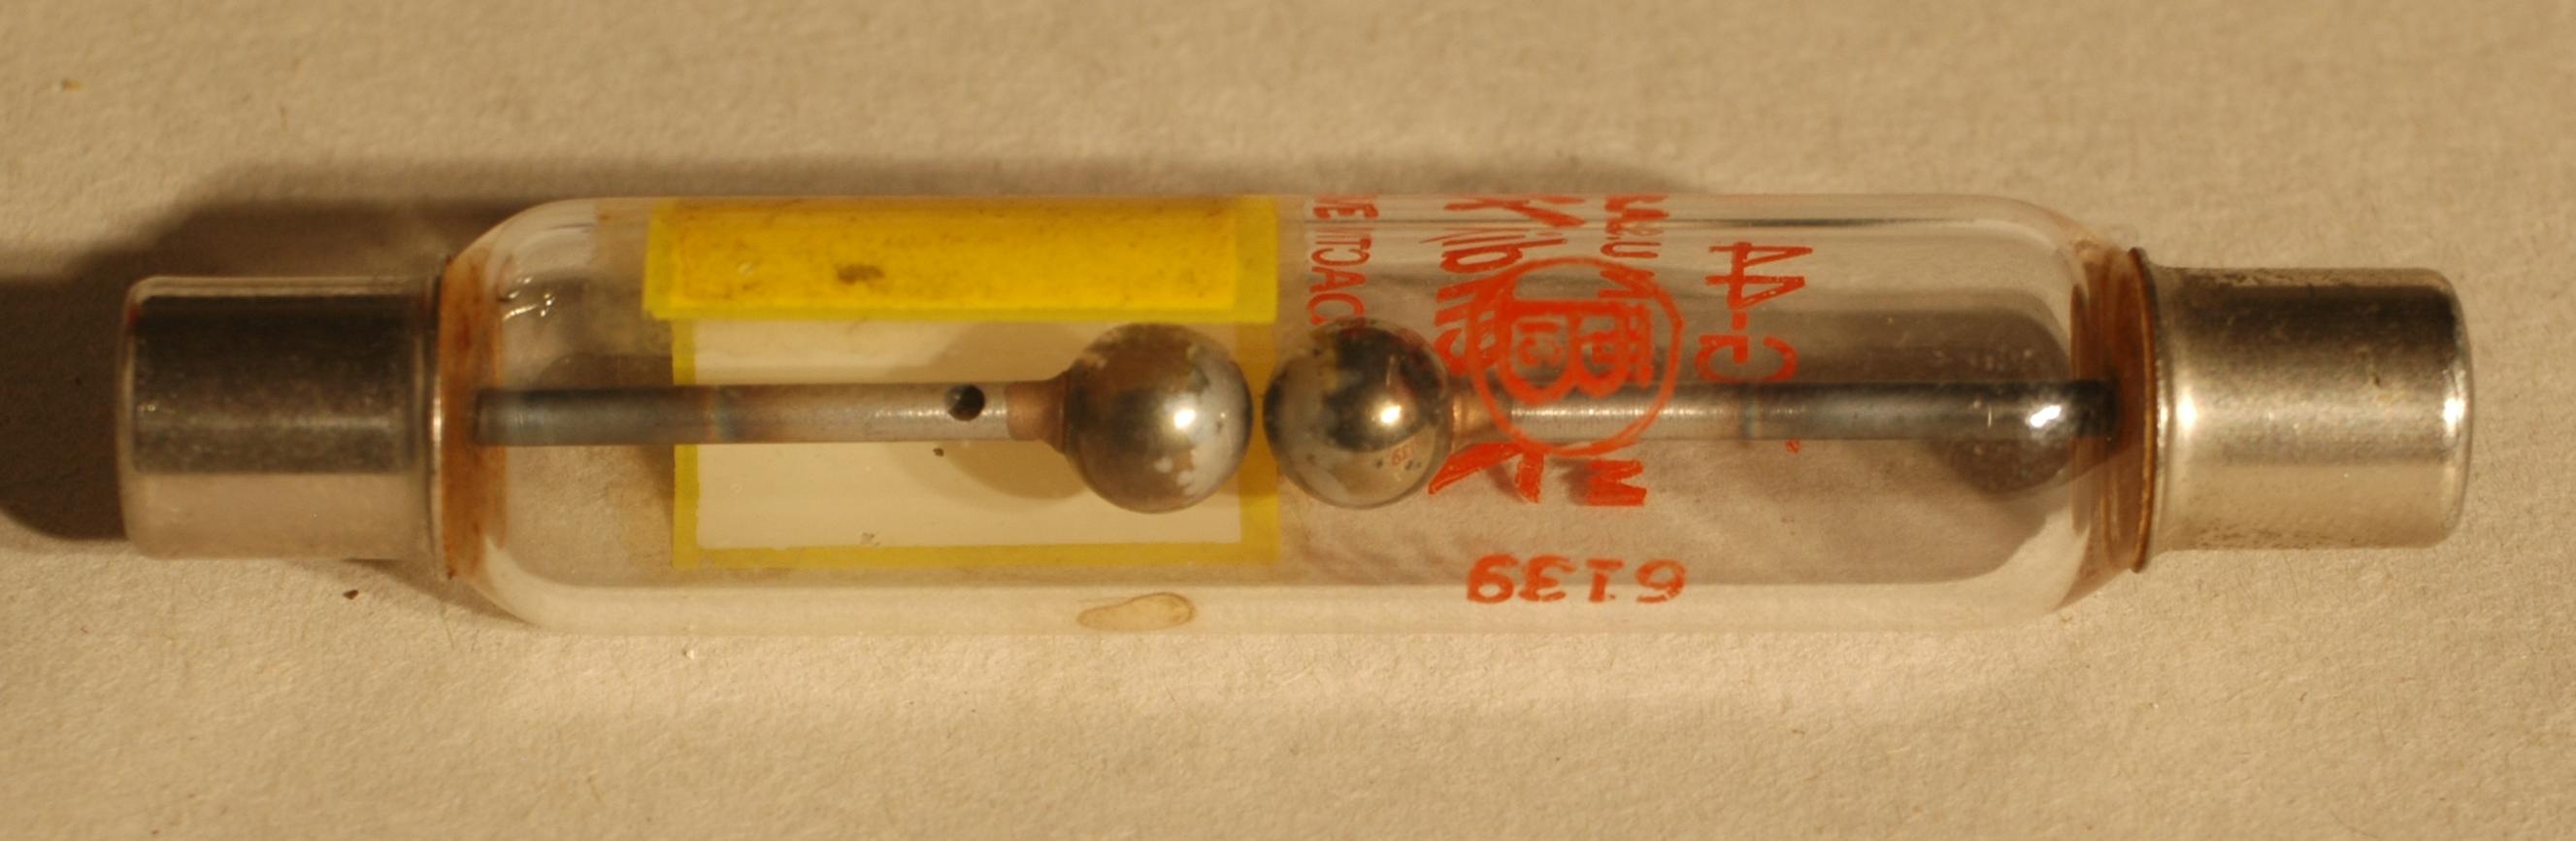
Or you can make it for yourself but You must remember to cover it up and never touch it becaouse it is very dangerous !! I need to add that this is one of the most important parts of our system becouse it will alowed us to adjust frequency which is crucial to make the unit operating correctly :

5 -Coil
This picture show my first working coil , you can see three different colours of wireing:
Blue 90 turns 1.5mm CW
Brown 30 turns 1.5mm CCW
Green&Yellow 16mm CCW

Note metal plate(ground) under MOT:
Blue 90 turns 1.5mm CW
Brown 30 turns 1.5mm CCW
Green&Yellow 16mm CCW

It is very important to keep rods approx 10m apart, best if it could by North to South and as deep as possible!

7 -Lamps (load)
In this test I use as a load 10-100Watt each light bulbs and 2 batteries 12Volt which are charging very quickly !

In this video you can see how much power it draw and how it works:
Please note that this blog is in constant modernisation and author dose NOT taken any responsibility forany damage or accidents which may occur during replication or testing!
Brak komentarzy:
Prześlij komentarz